Accordion tag album by Louise Nelson
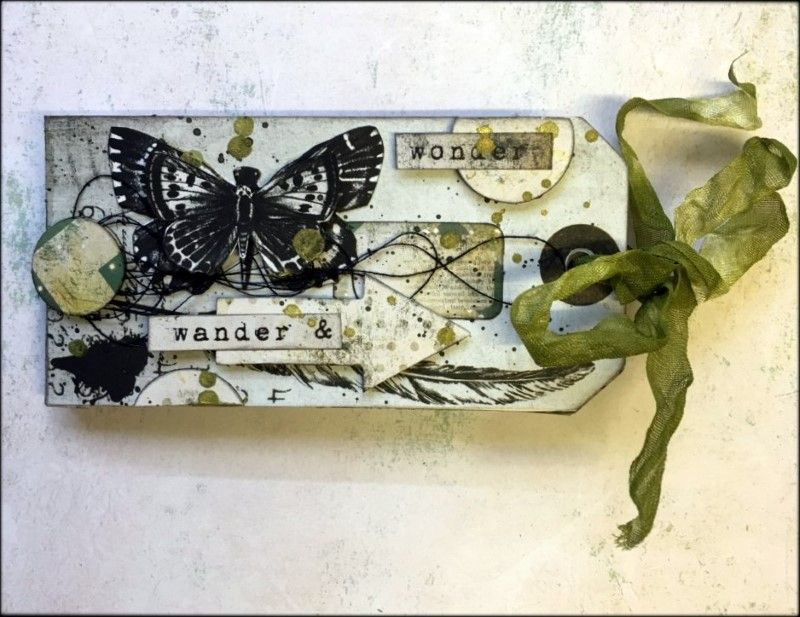

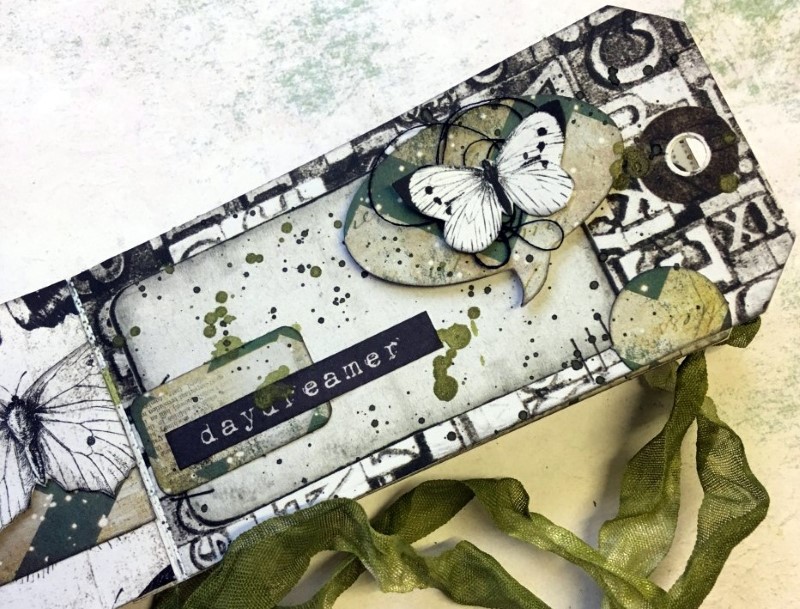
Today I would like to share with you a little accordion style tag album I created with a mind that it would be perfect for a gift. The festive season is fast approaching and this project would be the perfect gift for grand and godparents. This little tag album is also a fabulous stash busting project where you could use up some of your as yet unused 7 Dots Studio tags and die cut elements.

Step-By-Step
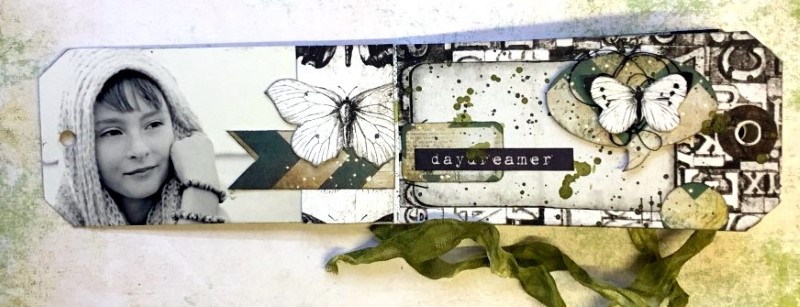
1. So to begin I just want to say that I didn’t want to complicate this blog post and mini step by step so my description of how to make the little accordion style tag album will be very brief, so please refer to images included.
2. Begin with assembling the large tags you would like to use and a strip of coordinated paper approximately 15-16cms long and cut to the same width as the large tags.
3. Mark each side of the strip of paper at 1cm increments, score, and then fold in a manner as depicted.
4. Then adhere your tags in the folds using either glue or double sided adhesive. Ensure to adhere your cover tag to the front of the plain single fold.
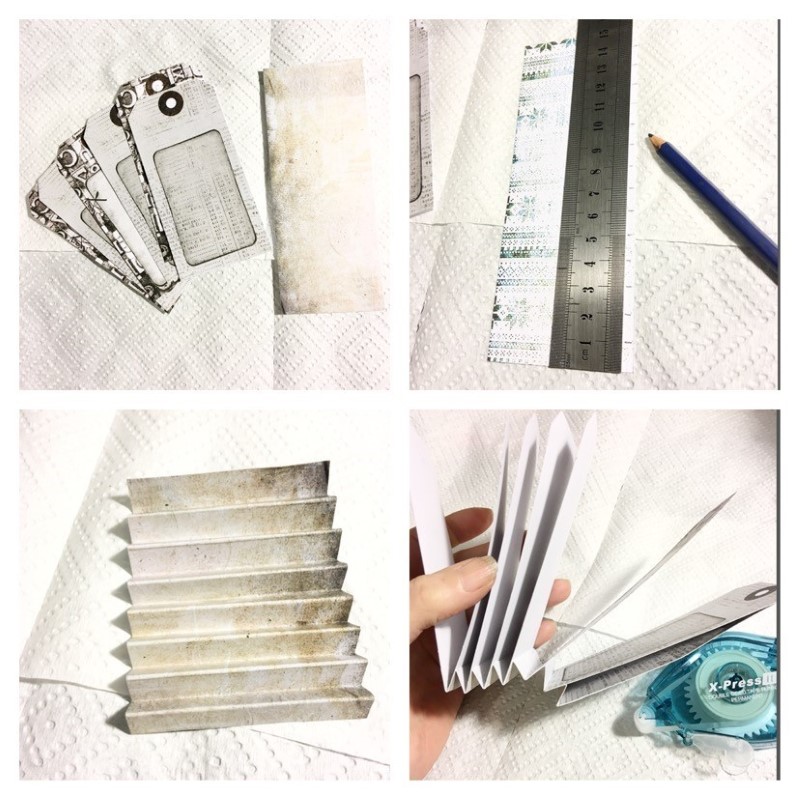
5. Then when all of the tags are adhered on the inside folds, glue all of the folds together on the under [outer] side to create the spine of the tag album.
6. Using a hole punch, punch holes in the tops of the tags.
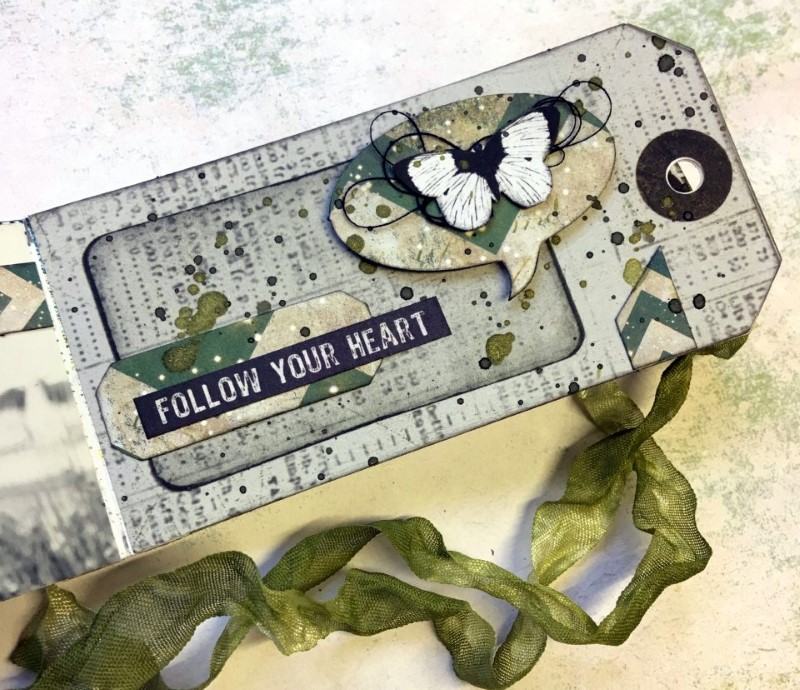
7. Assemble desired die cut elements, word stickers and favorite patterned papers to start embellishing the cover. Ink all of the edges of the embellishments and tags.
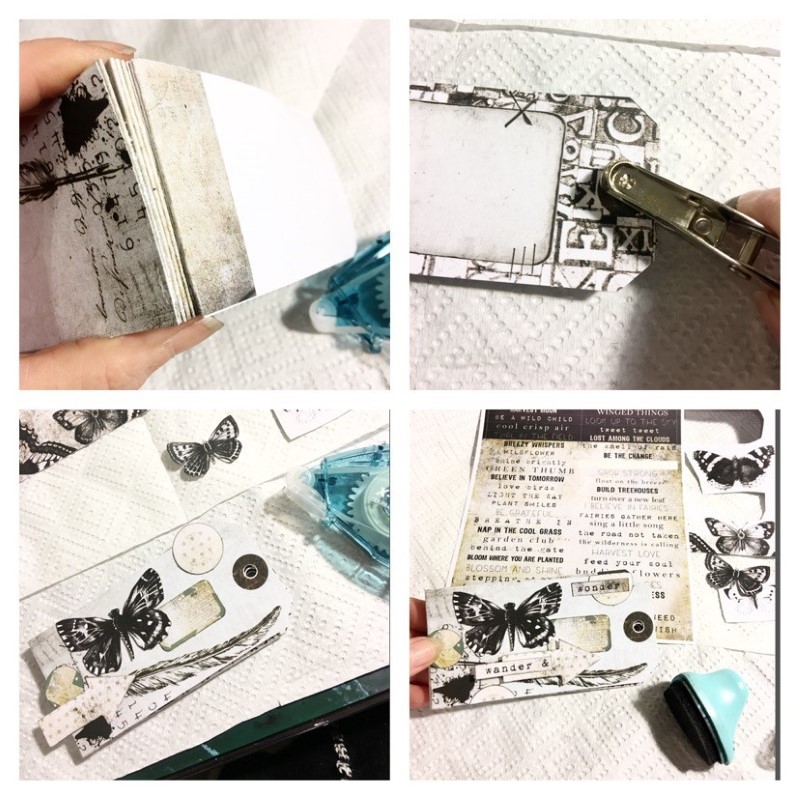
8. To add some visual interest add extra embellishments; for example, cotton thread, and paint splats.
9. Colour the satin ribbon to coordinate with your tag album using a spray mist, and dry off with a heat tool.
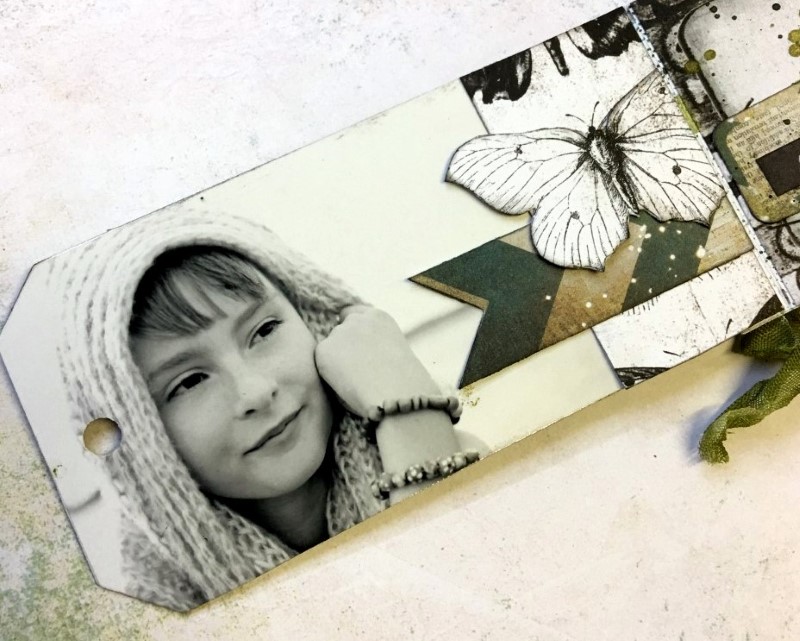
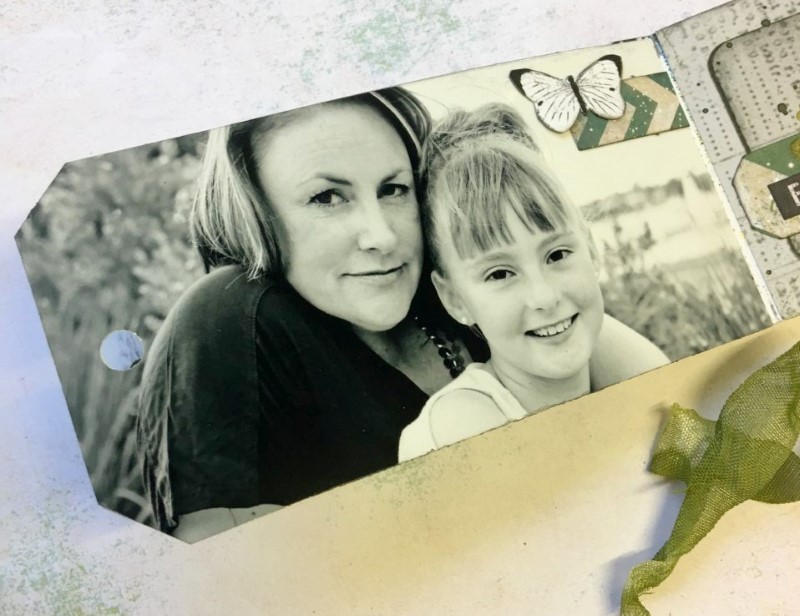
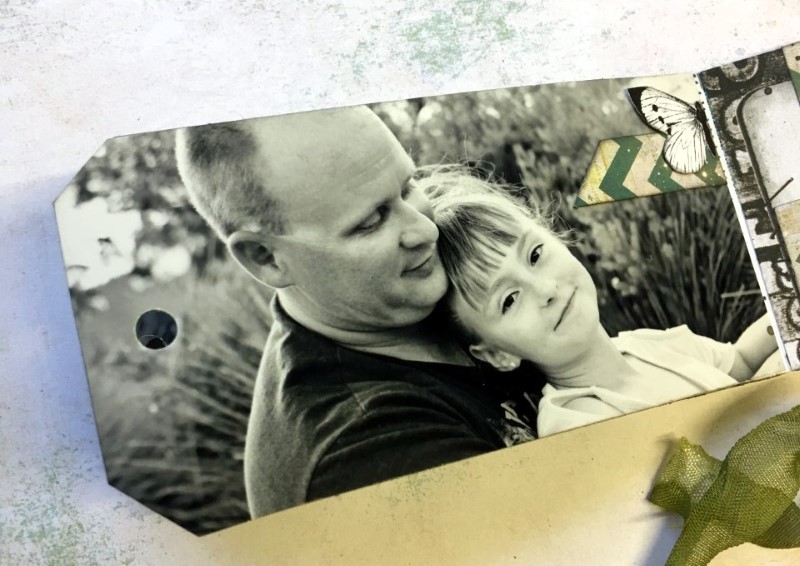
10. Select and trim photos to same size of large tag. Adhere these photos to the inside of the front tag and then on the under side of the inside tags, [the non patterned side.
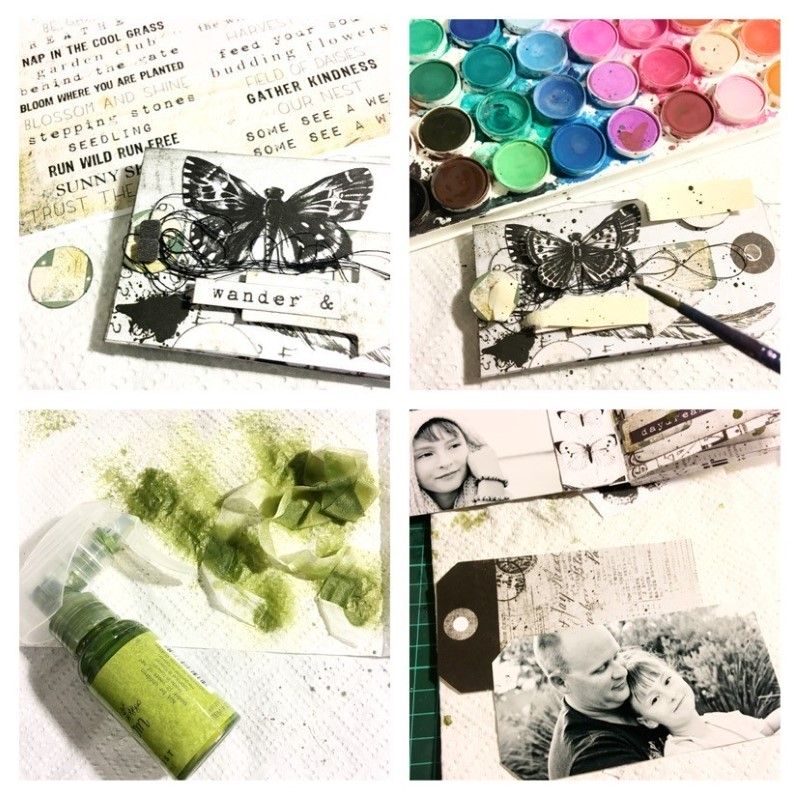
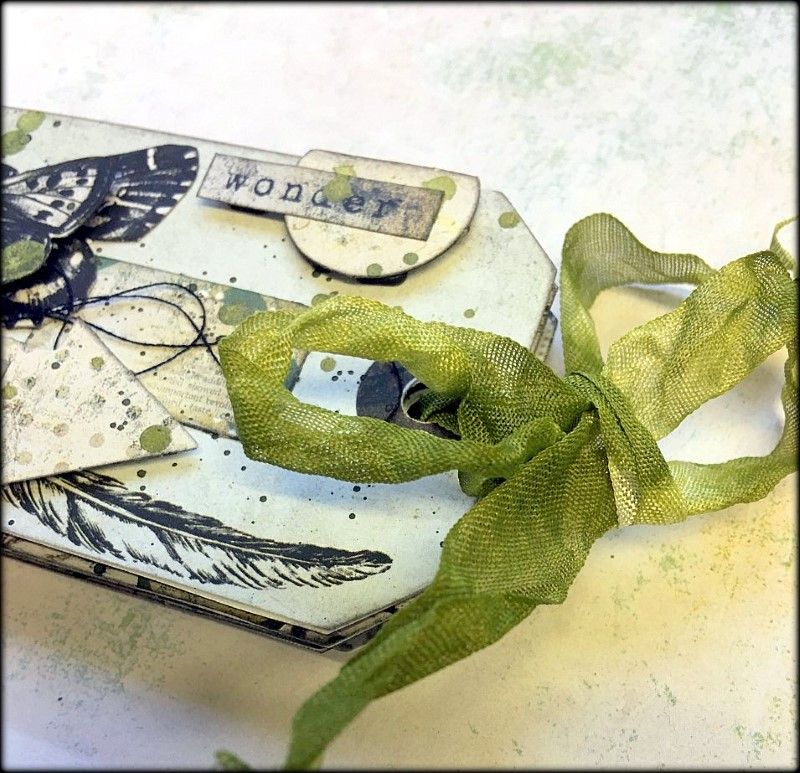
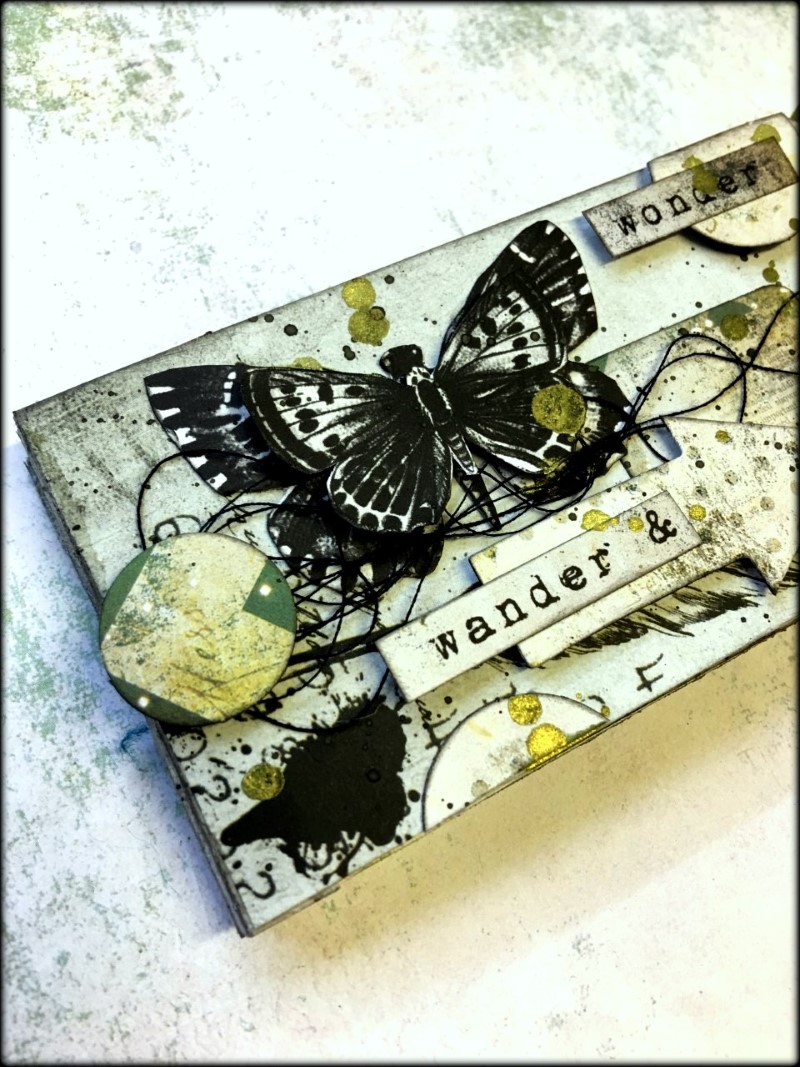
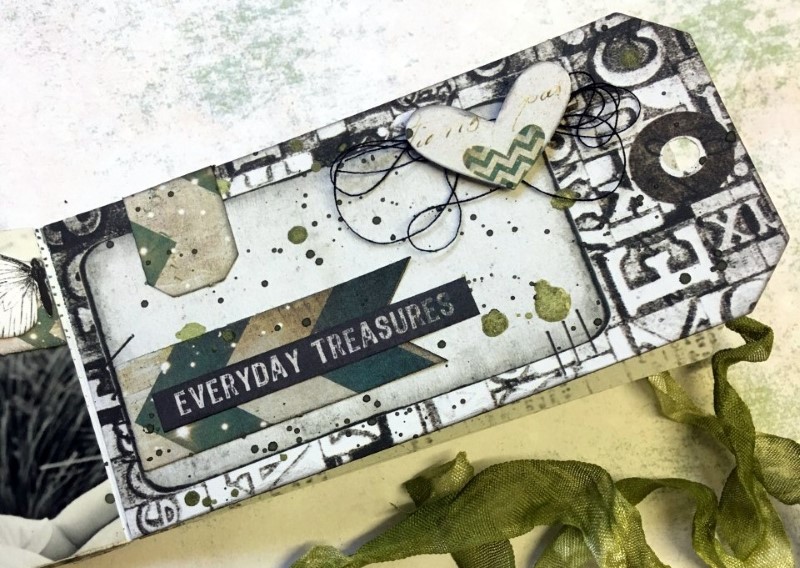
That is the basic makeup of the tag album. To decorate and embellish the inside tags to coordinate with the photo, choose and use die-cuts, word stickers and your favorite embellishments [I used cotton thread, paint and mist]. You can see how I have done this with the close up images.
7 Dots Studio supplies:
 |
 |
 |
 |
 |
 |
Products List:
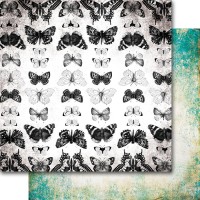
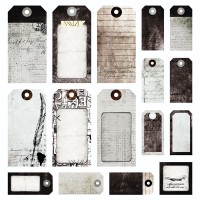
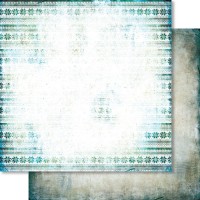
Garden Party – Die-cut Elements 6×12
Garden Party – Word Stickers 6×12
Garden Party – Tags 12×12
Garden Party – Born
Writer’s Block – Tags 12×12
Northern Lights – Frosted





Heather McMahon
Oh this is totally gorgeous Lou! I love it!
Louise Nelson
Thank you so very very much Heather ??
Tanis
Love it ! It could make a very nice gift. Thanks for the step by step.
Louise Nelson
Thank you so very much ☺️ Xx