
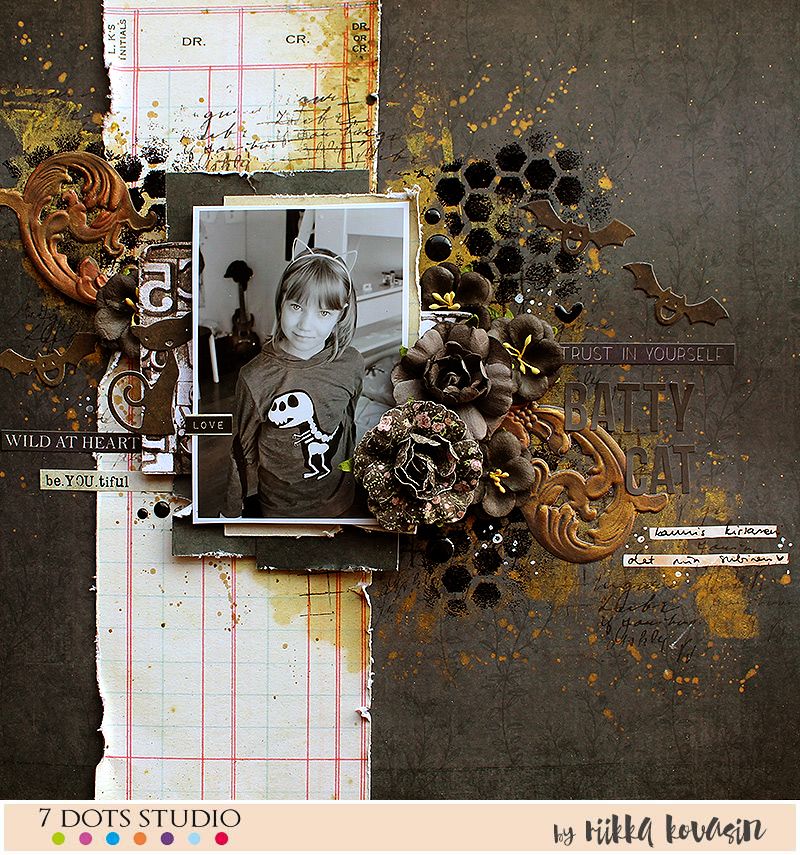
Batty Cat by Riikka Kovasin

Moikka! It’s Riikka here today with a step by step tutorial to show how I made this layout.
I wanted to make something “Halloween-like”, but as we don’t celebrate that here in Finland, well, not at least on that extent, I didn’t have any photo. What I did have was this picture of my younger daughter when we were just heading out and she looked so cute with the headband with cat ears and a dinosaur shirt. So, I used dark, rich colours inspired by the Halloween, but did a layout about my daughter.

Without further ado, here’s the steps which I used to make the layout!
Step 1. Choose your background paper and photo. Cut a strip of a contrasting paper and distress the edges. Adhere the strip to the page with double sided tape.

Step 2. To create that rich, Baroque effect, add some gold to the background. Choose a couple of acrylic paints and use a silicone brush to paint them into the paper. Add some splashes, too.

Step 3. Continue layering. Use a permanent ink to stamp some script to the background. Mix in another pattern as well, if you like. Add a more solid black layer using a stencil and embossing powder.

Step 4. Cut pieces out of patterned papers and create the layers behind the photo. Attach the layer cluster to the background and mount the photo on top. Use 3D foam dots to create dimension.

Step 5. Using dies, cut some embellishments to your page. Treat the swirls with metallic wax for a metal style shine. Adhere the embellishments in place – think about your composition.

Step 6. Make your composition fuller using some paper flowers. You can also add some metal embellishments at this stage.

Step 7. Balance the page out with a title and some text stickers. Again, keep the composition in mind and see which place might need a sticker to fill a gap.

Step 8. Finish the page with journaling and some dot stickers. Add some doodling here and there as well to give your own hand print to the layout.

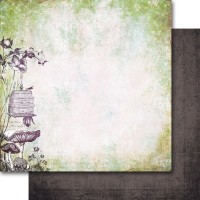
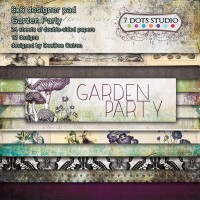
The ornamental die cuts, the hues of the “Garden Party” fit perfectly to the Baroque like atmosphere of the page. And I managed to add some bats in there, too! My daughter is a dear but she’s a little batty at times. Like all of us in the family! Here are some close ups of the finished project.


With this layout I’d like to wish you a great Halloween if that’s something you celebrate or just peaceful autumn times! Ta ta for now!
Xoxo Riikka
7 Dots Studio supplies:
 |
 |
 |
 |
 |
 |
 |
Products List:
Cotton Candy Dreams – Hex Stencil
Fortune-teller – Word Stickers 6×12
Garden Party – Word Stickers 6×12
Garden Party – Garden Gnomes
Garden Party – Pad 6×6
Northern Lights – Clear Stamps
Air Mail – Clear Stamps
Air Mail – Hand Written
Writer’s Block – Pad 6×6


// Comments are closed //