
Cardboard Tags by Louise Nelson
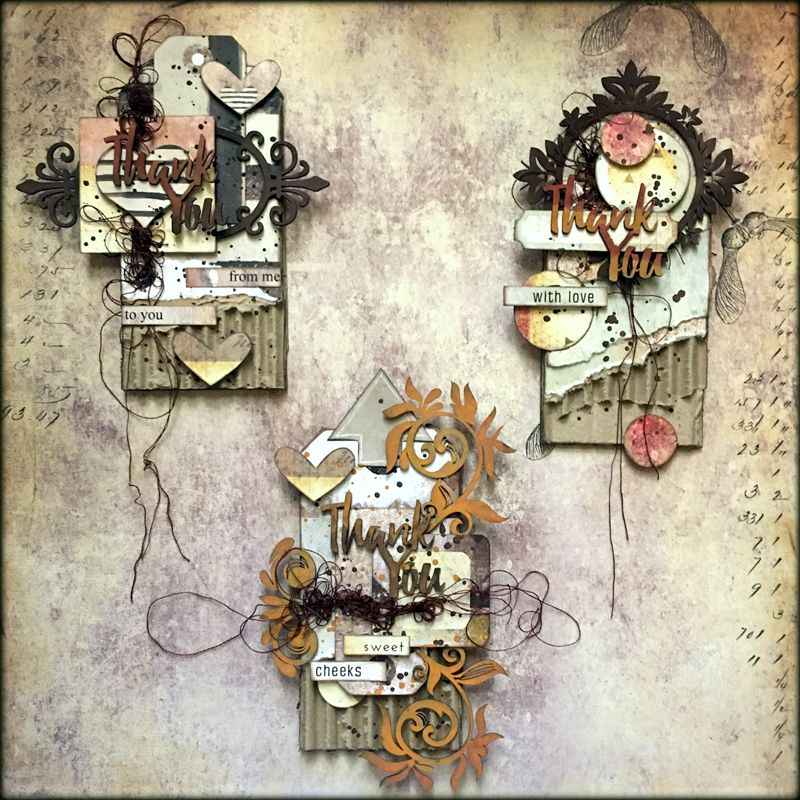

Today I would like to share with you a super quick and fun step out on how to use corrugated cardboard to give your 7 Dots Studio Tags a fun and funky look.

Step By Step
• Begin with selecting your desired tags.
• Use these to draw a template onto the cardboard.
• Using a Stanley knife cut out the cardboard tags.
• Then adhere the tags to the cardboard tags and allow to dry.

• When the cardboard tags are dry, start to tear off the bottom portion of the tag, including the 7 Dots Studio tag and top layer of the cardboard, to reveal the corrugations underneath.

• It is up to you how much you would like to tear off and how much of the corrugated cardboard you want to reveal.
• With one of the tags I have ripped off a small portion of the corrugated cardboard as well.
• From the last image in the collage above you can see the 3 different ways I have done this.

• For something a little different I used the torn off pieces to layer up on one of the tags.
• Once you have created these fun corrugated cardboard tags you are free to embellish and decorate them as desired to suit your style.

I have included 3 close up images below of the bottom portions of each tag after I have decorated and embellished them.


7 Dots Studio supplies:
 |
 |
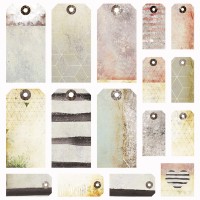 |
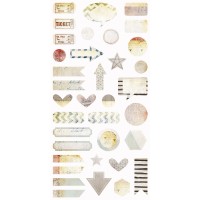
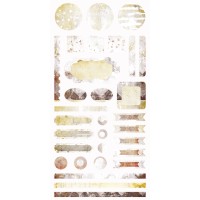
Products List:
Dreamscapes – Die-cut Elements 6×12
Dreamscapes – Element Stickers 6×12
Dreamscapes – Word Stickers 6×12
Dreamscapes – Tags 12×12


Lisa Amiet
Oh these are just so gorgeous! Love them all!