
Dreamer by Louise Nelson
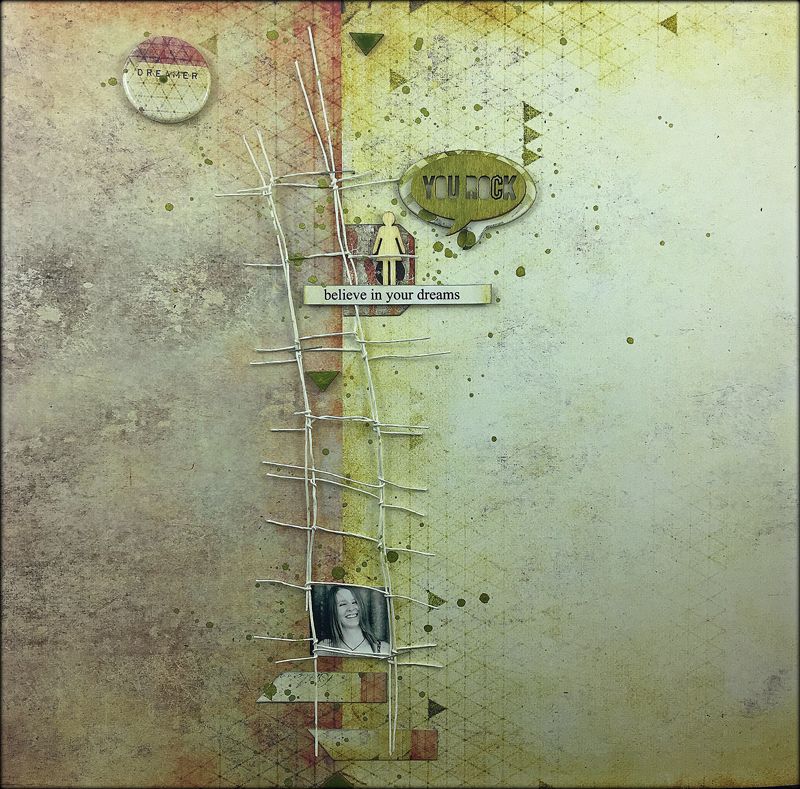

Today I would like to share with you a quick and fun embellishment technique. The wire ladder like embellishment was created to emulate the graphic on the 12 x 12 patterned paper Under the Covers.

This step out is quick and simple and not as fiddley as it looks 🙂
STEP-BY-STEP
- Begin by cutting 4 long pieces of wire to be the side rails of the ladder, and multiple shorter pieces for the across rails [approx. 12 cms long].
- Rake one long wire and begin twisting around the shorter wires all the way along the long wire as depicted below. Create as many across rails as you would like.

- Take a second long piece to form the other long side rail, and twist the shot pieces around it to form a ladder.
- Take a third long piece and align it along the left side rail; to hold it in place I positioned it over and under every alternate short across wire.
- To hold it in place I added a second short across piece of wire in the middle and twisted it around both of the left long side wires.
- Repeat this for the right hand side of the ladder, and hold it in place with second short across wires at the top and bottom.

- Add extra short across wires to create the ladder look.
- Reposition the wires so it starts to look more like a ladder.
- When you are happy with the shape, adhere it to layout background paper with staples.

- This image shows the wire embellishment attached to the page, before final embellishing.

- Next up are 2 close ups of the completed layout.


Cheers for now and I do hope you enjoyed this quick and easy lil wire embellishment step-out.
Louise xxx
7 Dots Studio supplies:
UmWowStudio -Dreamscapes – Tell tall tales flair
Dreamscapes – Die-cut Elements 6×12
Dreamscapes – Word Stickers 6×12
Dreamscapes – Tags 12×12
Dreamscapes – Narwhal
 |
 |
 |
 |
 |


// Comments are closed //