Frosty card by Anna Wiśniewska
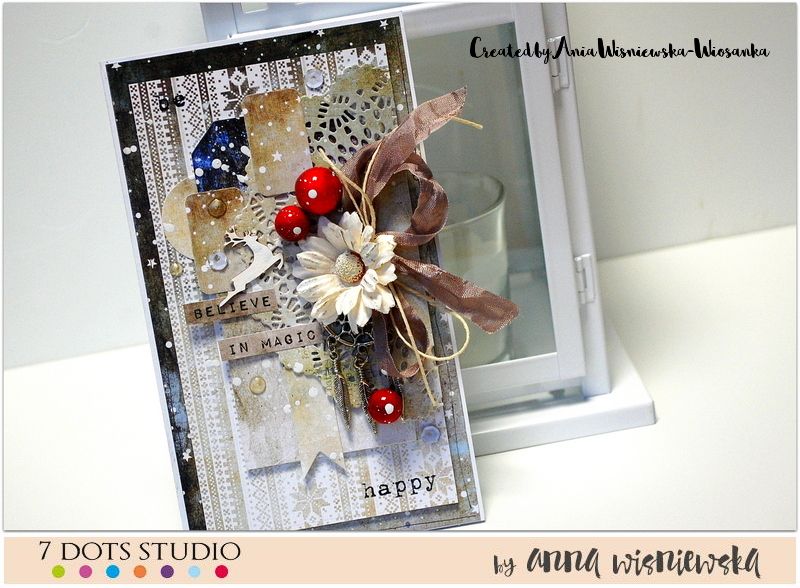
Hello everyone!
Winter is coming. That’s the fact. In this season even birthday or nameday cards look different. Colder, more frosty…
For today I prepared such card – for somebody that we like, on special, winter occassion.

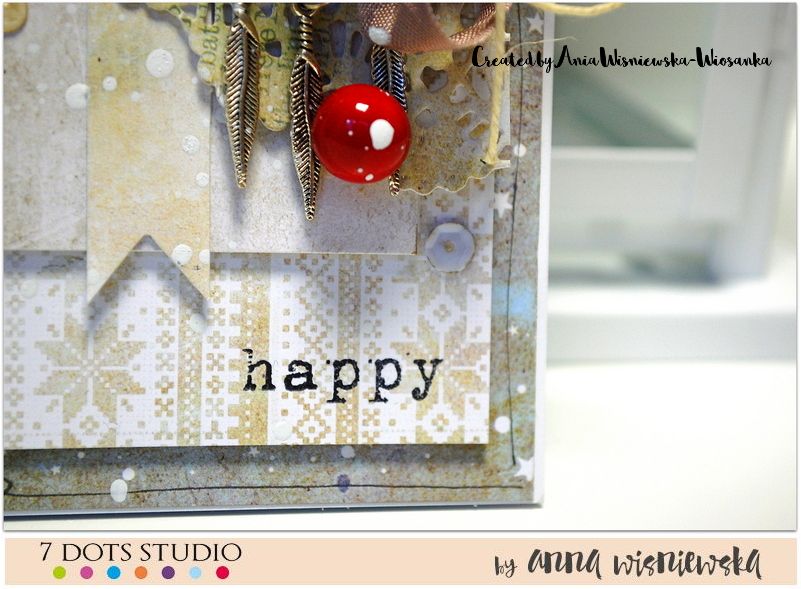
To make it I used one of winter 7 Dots Studio collections – “Northern Lights”. I like the contrast between the papers and the embellishments. The calmer the colour of the papers, the juicer the establishments I try to use. You can see that trick on this card.
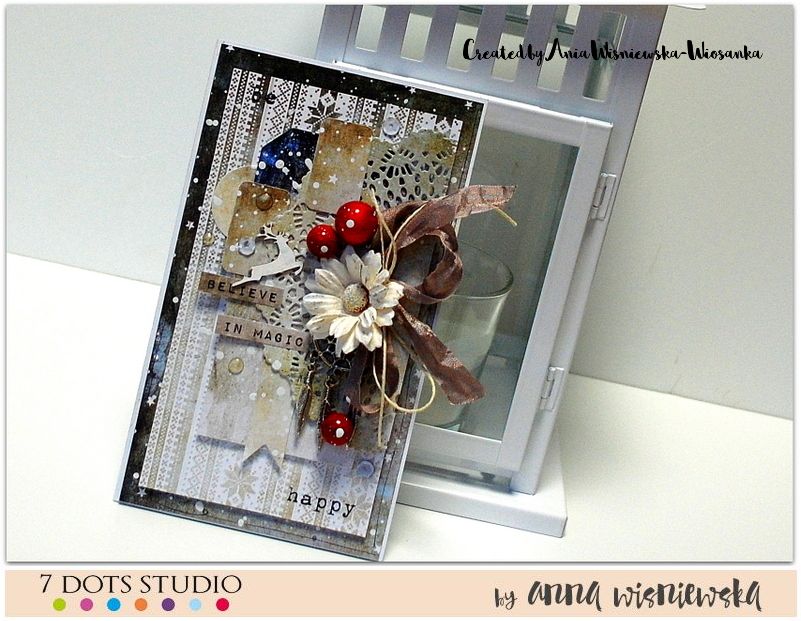
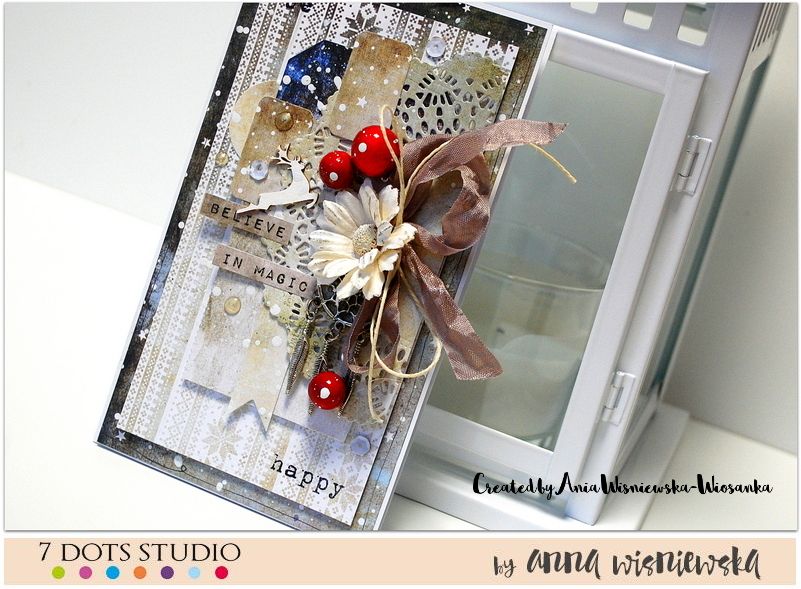
I also prepared a simple photo tutorial so you can see the process of creating this project.
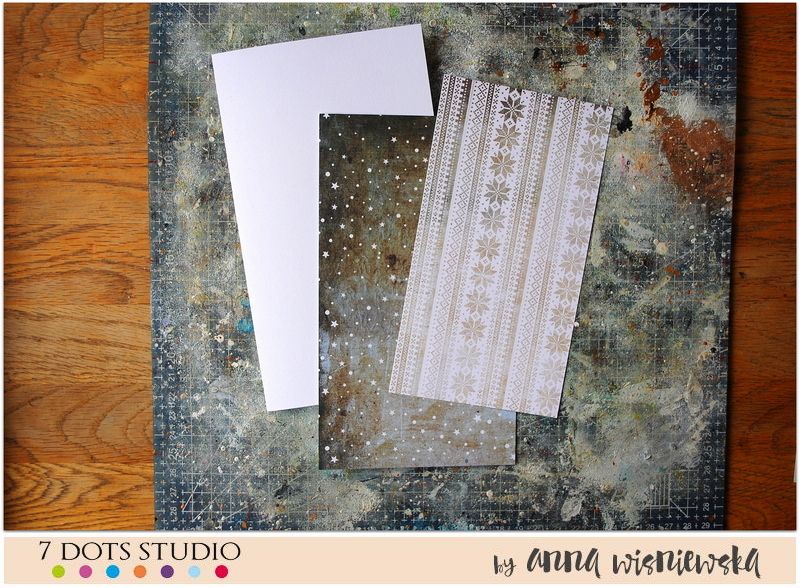
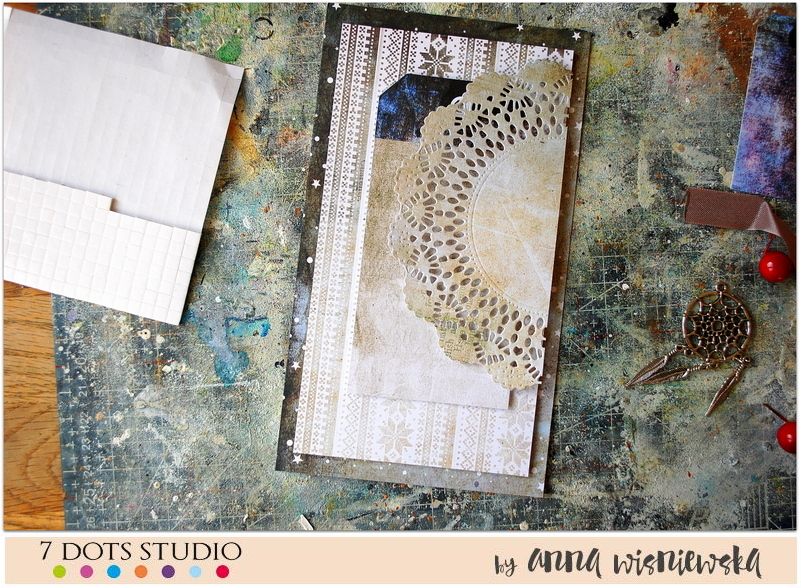
1. The very first thing that I do is cutting the papers. Then I stick them together on distances to make the card not flat but three-dimensional.
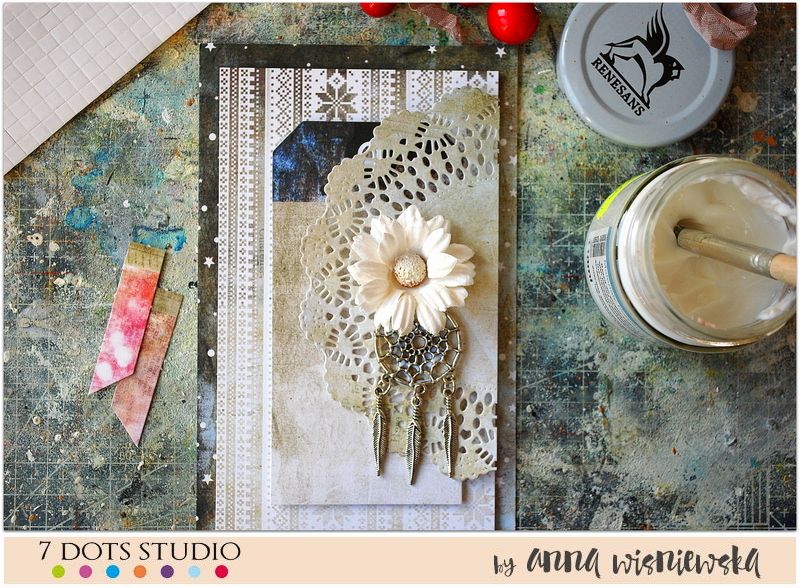
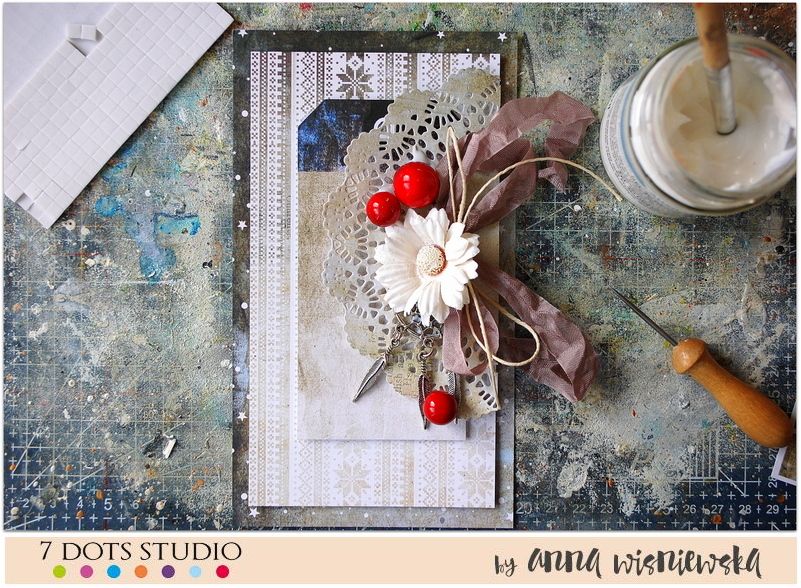
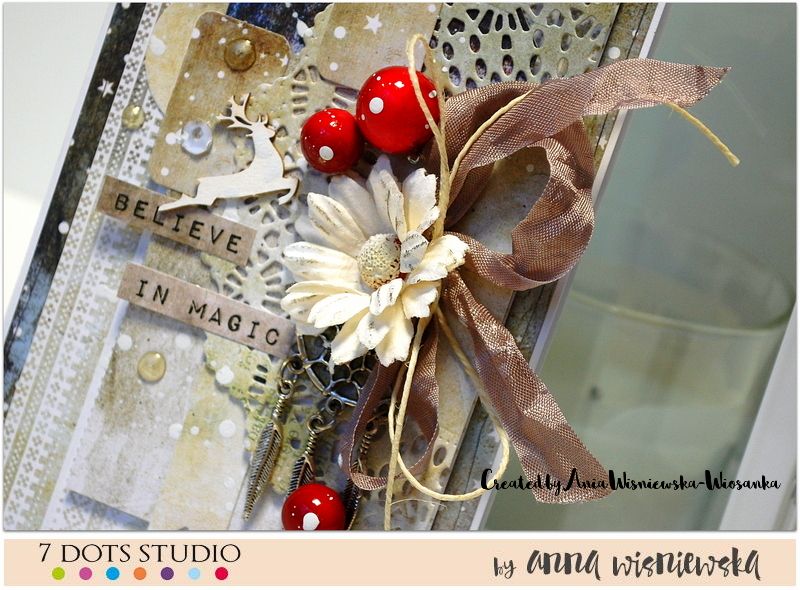
2. Next I add the flower and the metal dreamcatcher – I stick heavy elements on gel medium. Even the ribbon, the twine and red balls are sticked to the paper with gel medium. Then I’m sure that they aren’t going to come off.
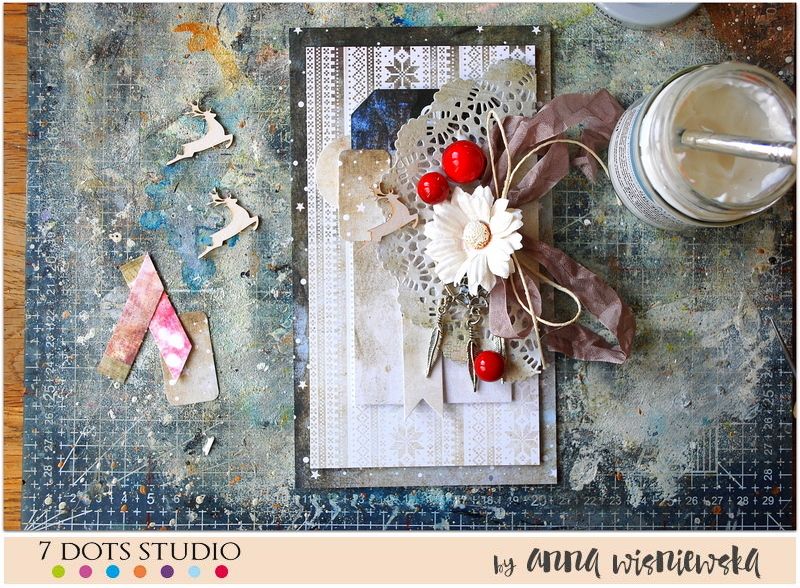
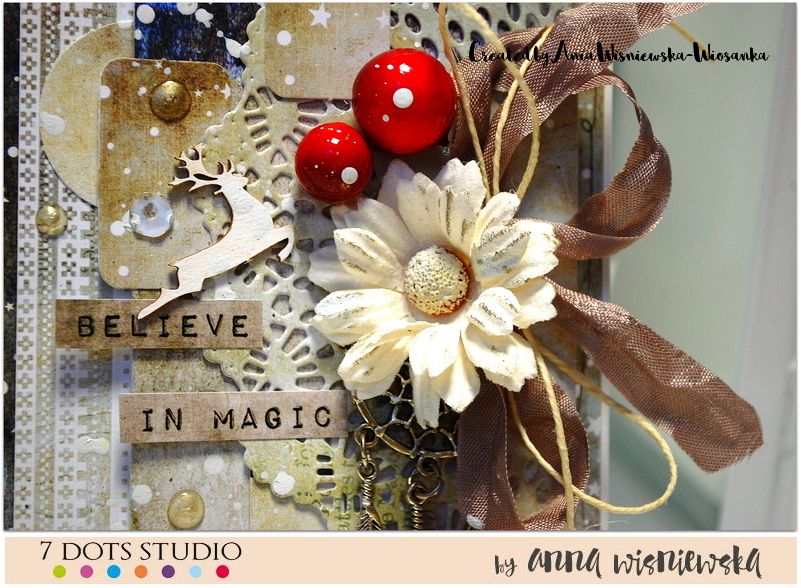
3. Now it’s time to add some small elements – die-cuts and a chipboard reindeer. It’s so sweet and fun! And it gives a little winter mood to the card I painted it in white so it is more frosty.
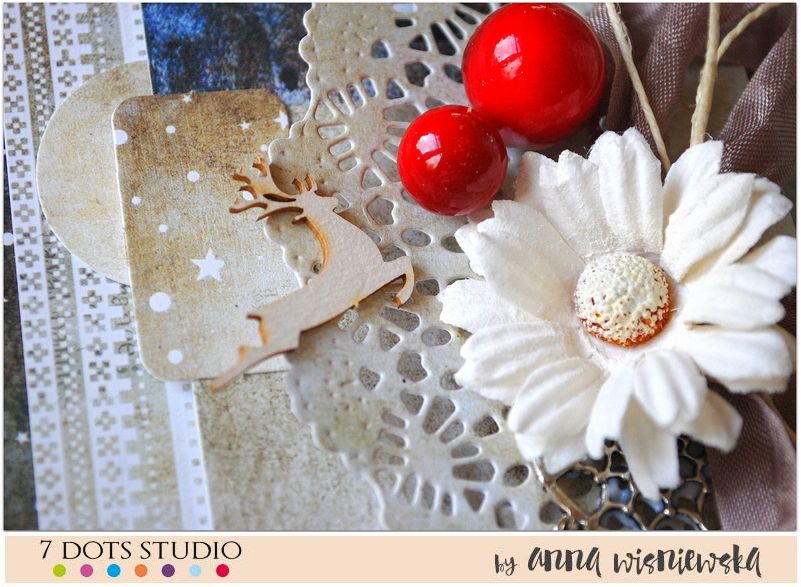
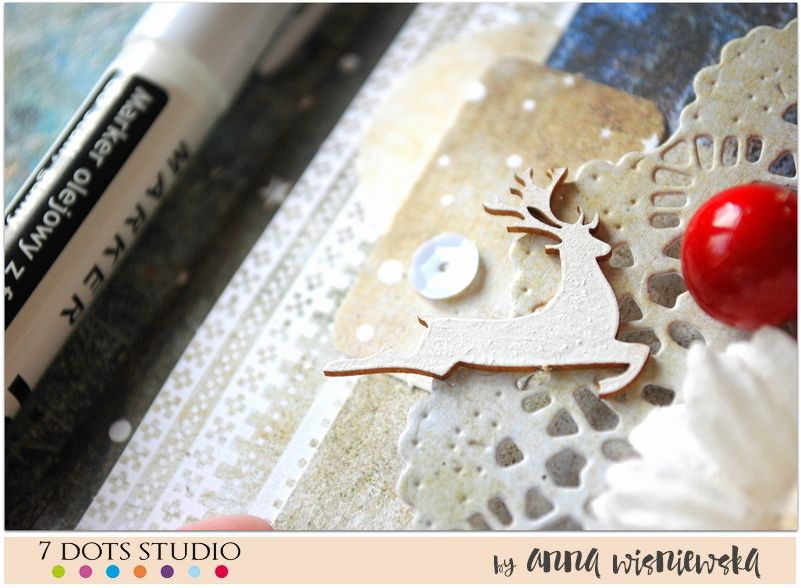
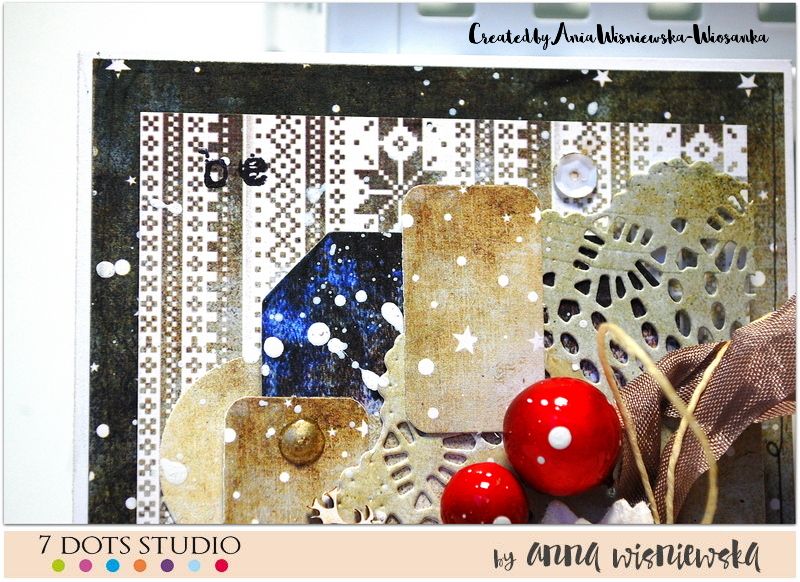
4. Splashing time! I splashed the whole card in white paint. I sticked some sequins, I stamped a few words and made three balls of glossy accents. And at the end I gave a little gold touch to different elements. And the winter card is ready!
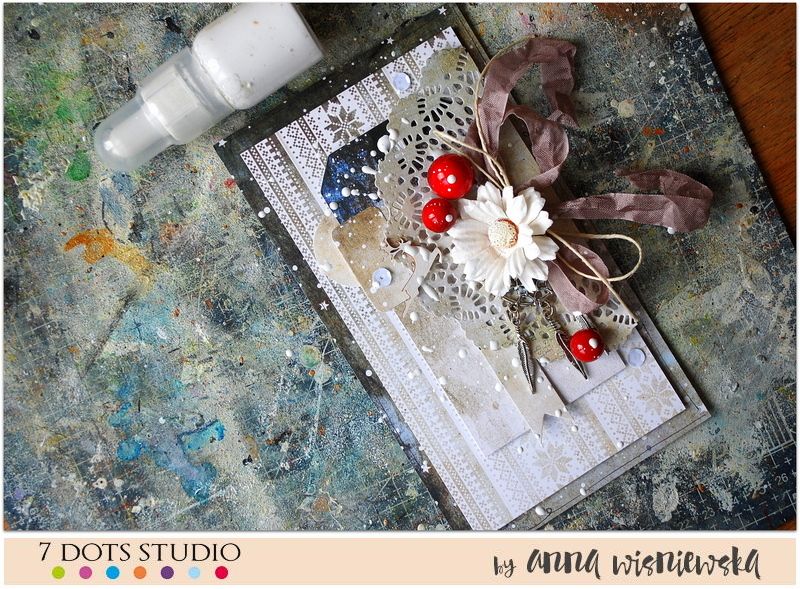
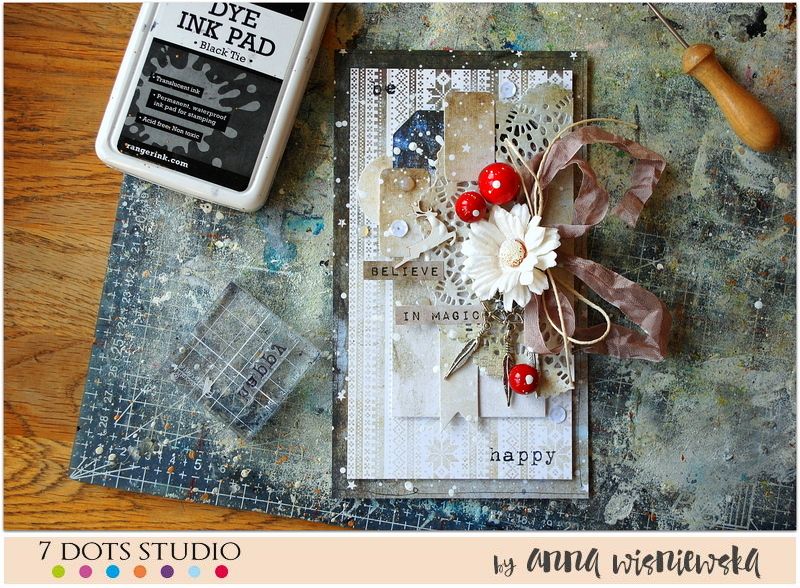
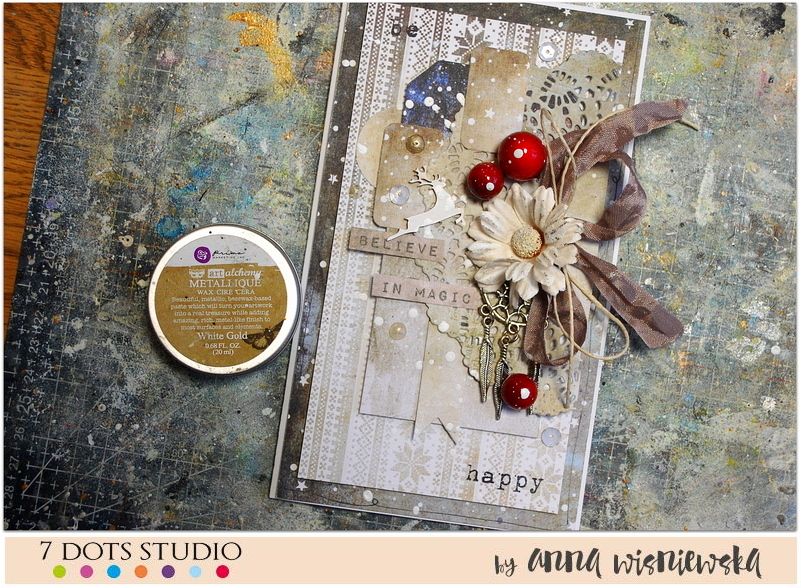
And there are some details of the finished card:
7 Dots Studio supplies:
 |
 |
 |
 |
 |
Products List:
Northern Lights – Nordic Winter Chipboard
Northern Lights – Frayed Knot
Northern Lights – Tags 12×12
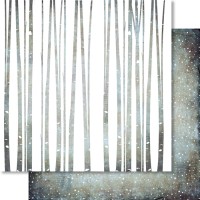
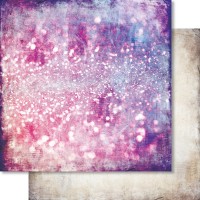
Northern Lights – Starlight
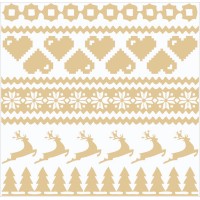
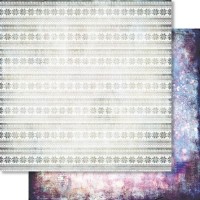
Northern Lights – Knitted
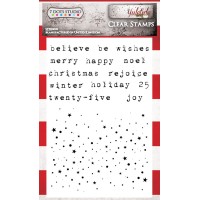
Yuletide – Clear Stamps



// Comments are closed //