
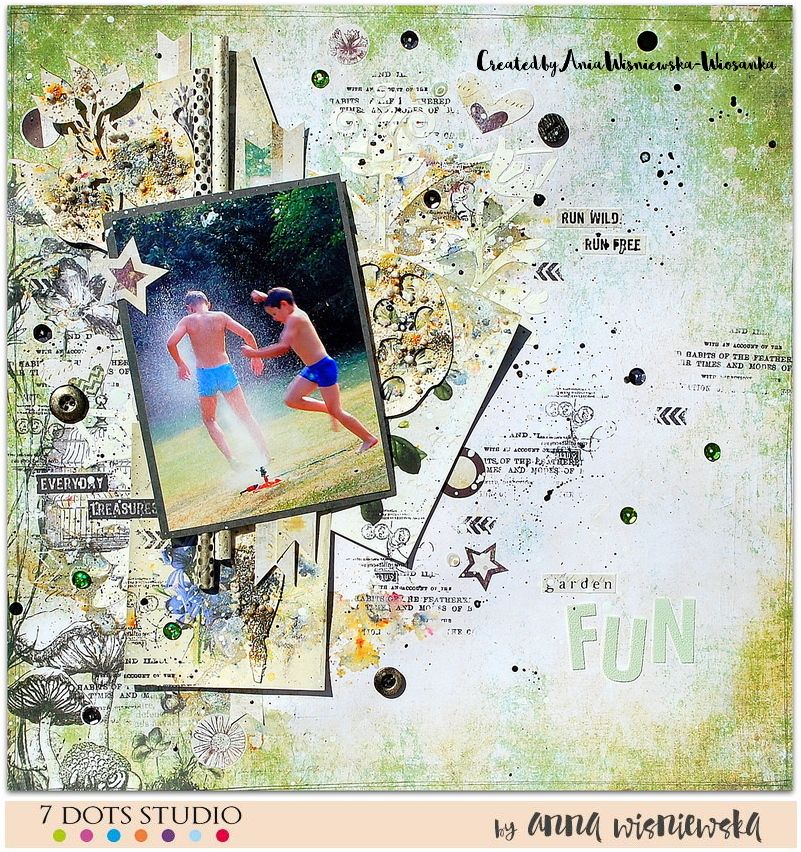
Garden fun by Anna Wiśniewska

Hello beloved, creative friends!
Today I have for you summery layout, created of one of our newest collections – “Garden Party”. As I love greens and yellows, I am totally charmed with this papers and embellishments. I chose one of older photos of my sons playing with water in our garden. And here it is, my project for you:

I have also a simple photo tutorial step-by-step for you, so you can see how I created this layout.
1. In the first step I chose the photo, the main – base paper and other elements – the stencil, chipboards, small paper elements as well. Then I made some background work – I used the floral stencil.


2. Then I decorated the chipboards and sticked them along with flower pictures on the base.


3. Next I played with colours – I used some powders to add a little colour to the background and chipboards.

4. Then I stamped some notes around – stamps from “Garden Party” collection are just fantastic! And I sticked two straws in place behind the photo.

5. At the end I sticked small paper elements, sequines, buttons, stickers and finally I splashed black and white ink all around.


I hope you will like this layout as much as I do.
Here are some details:


7 Dots Studio supplies:
 |
 |
 |
 |
 |
 |
 |
 |
Products List:
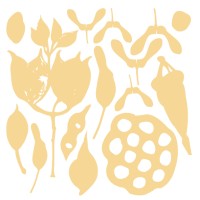
Garden Party – Seed Pod MASH Chipboard
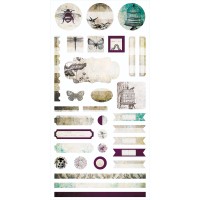
Garden Party – Die-cut Elements 6×12
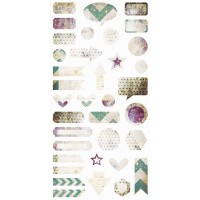
Garden Party – Element Stickers 6×12
Garden Party – Word Stickers 6×12
Garden Party – Floral Knot Stencil
Garden Party – Garden Gnomes
Garden Party – Clear Stamps
Garden Party – Dreamy


// Comments are closed //