
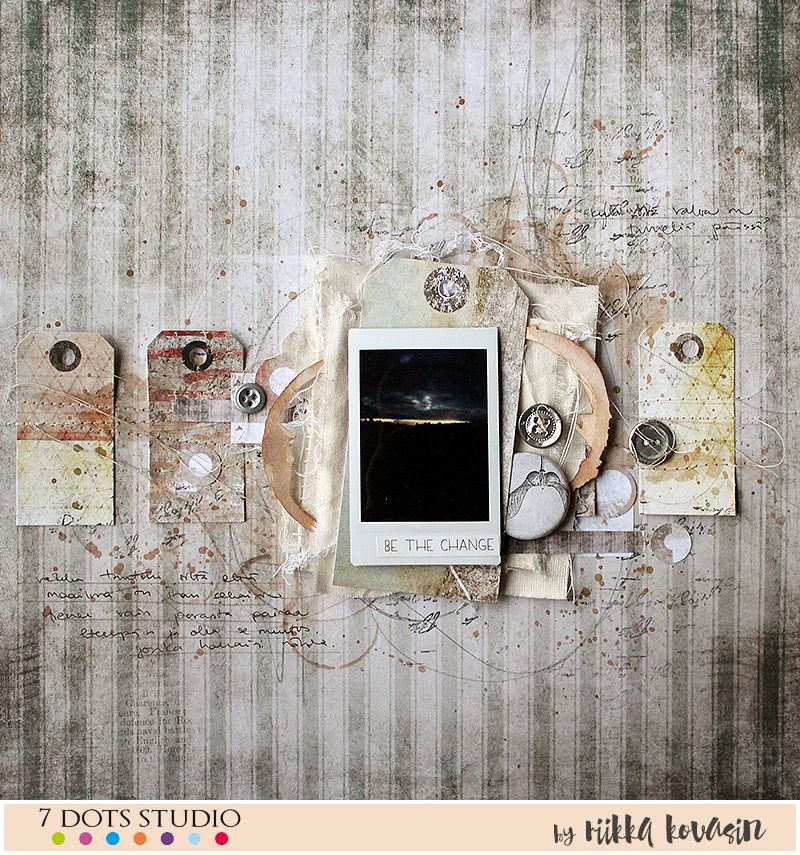
Be the Change by Riikka Kovasin

Hello there!
It’s Riikka here today to share a layout with a step by step pictures with you. The idea to the page with the first step – when I was sewing the tags to the background I noticed a piece of muslin in my sewing table and thought to add it to the layout as well. The page also represents my goal for this year – to add more fabric to my projects or work more with fabrics.


I used a neutral palette of Dreamscapes together with some Paint Chips accents. But without further ado, here’s how I made the layout.
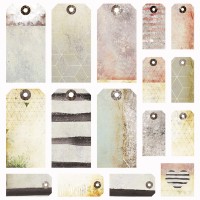
Step 1. Choose some tags for the background and adhere them lightly to the background with a piece of double sided tape. The purpose of the tape is to keep the tags in place while you sew. Use a sewing machine and sew the tags in place. Leave the threads to additional texture.

Step 2. Bring in the watercolor! Using tea tones, add some watercolor to the background. Paint, splash and make rings for a varied, interesting look.

Step 3. Finish the background with some pencil doodles and stamping. Use the stamp with an acrylic block to get only parts of the stamp design here and there.

Step 4. Add the photo in. Layer some torn pieces of muslin, a tag and then the photo. Staple the layers together or even sew together. Adhere the cluster to the background. Add a piece of cardboard to the back of the photo and then photo on top of the cluster. The cardboard acts as “foam dots”, to get the photo raised.

Step 5. Start to embellish the page. Start with the biggest elements and work towards smaller ones. Cut a chipboard shape in half and use the pieces on either side of the photo. Add also a flair button and some stickers.

Step 6. Finish the embellishing with some scattered items like stickers and old buttons. The stickers repeat the color scheme and the buttons heighten the fabric / sewn atmosphere of the page. Add also a word sticker to the photo that works as a title.

Step 7. Finish the page with some hand written journaling. This gives the page a handmade, personal touch.

Thank you for stopping by today! I hope you enjoyed the tutorial! Wishing you a great day!
7 Dots Studio supplies:
 |
 |
 |
 |
 |
Products List:
Paint Chips – Spills n Splatters Chipboard
Paint Chips – Clear Stamps
Paint Chips – Nightshade
Dreamscapes – Element Stickers 6×12
Dreamscapes – Word Stickers 6×12
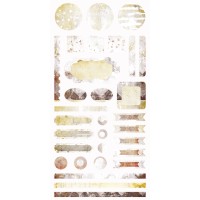
Dreamscapes – Tags 12×12
Um Wow Studio:
Dreamscapes – Oh So Dreamy flair


Diane J
Love it. I like seeing layouts without lots of flowers as I don’t have and don’t always like flowers on a layout. Great layout!