Mark Maker by Louise Nelson

Hello Hello 🙂
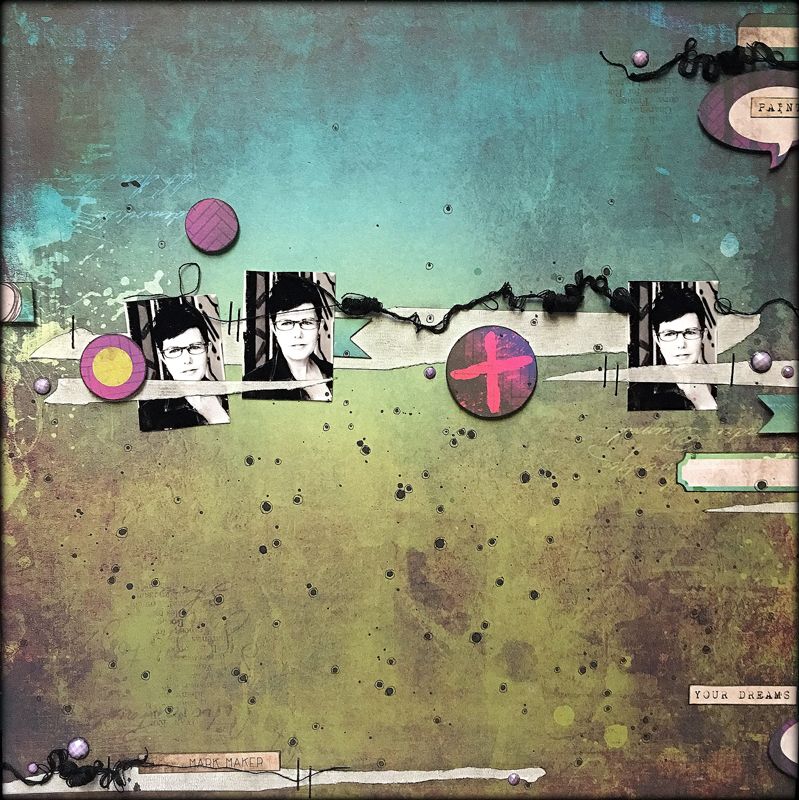
Today I would like to share with you 2 layouts I created using masking tape as a feature embellishment. One of which I have included a short step-by-step for. Masking tape is a cool and fun alternative to washi tape and adds just a fabulous visual point of difference to your layout.
The step out will be for the Layout – Mark Maker.

Step-By-Step
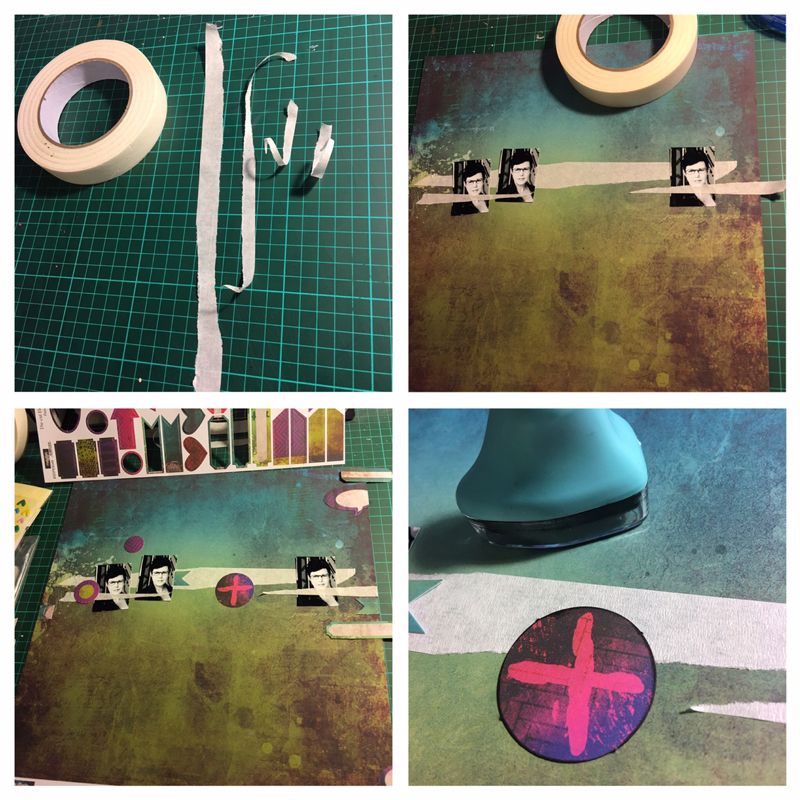
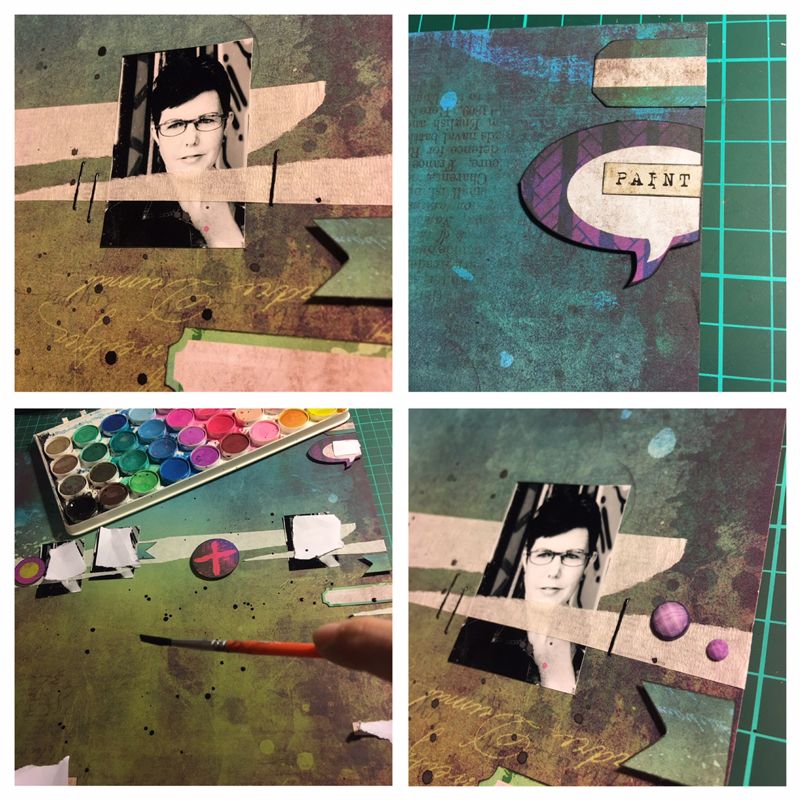
- Begin by tearing suitable sized strips of masking tape to suit your layout design.
- Position and adhere to layout background; incorporating selected photos under and over the tape as depicted.
- Select desired die-cut elements, ink edges with black ink and then adhere to layout. Consider raising some of the die-cut elements up by using adhesive foam dots.
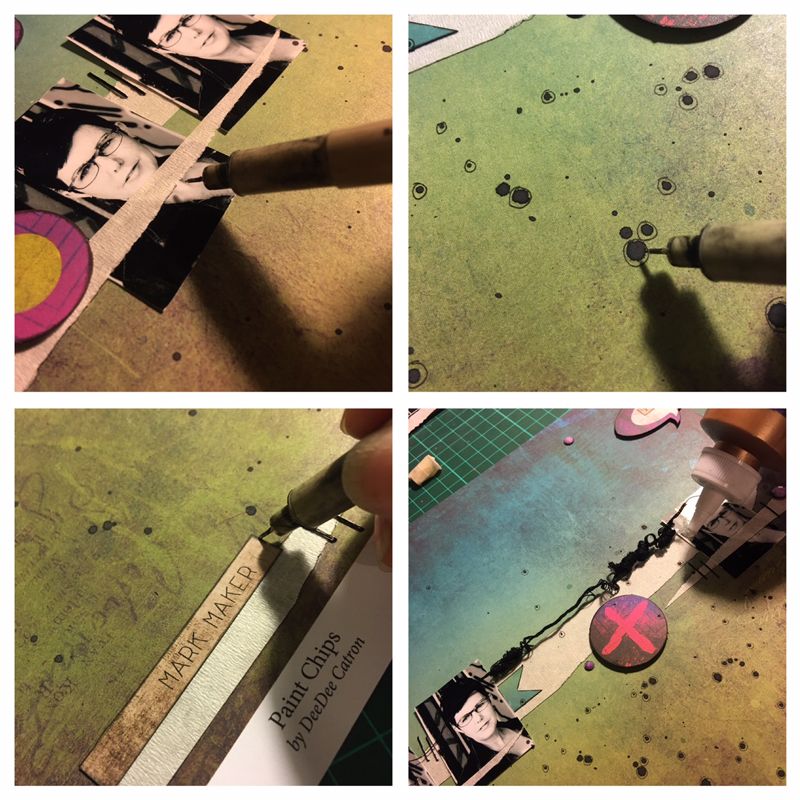
- To add visual interest add black staples over the masking tape each side of the photos.
- Selected desired word stickers, ink around the edges and adhere to the layout.
- Using black water colour paint add some splats of black paint to the bottom half of the layout, ensuring that you protect the photos with scraps of paper.
- Add extra colour coordinated rhinestone embellishments as depicted on the main layout image.
- To ensure that the masking tape embellishments stand out outline them with a black fine felt tip pen.
- To help coordinate the paint splats, word stickers and rhinestone embellishments; outline them also with a black felt tip pen.
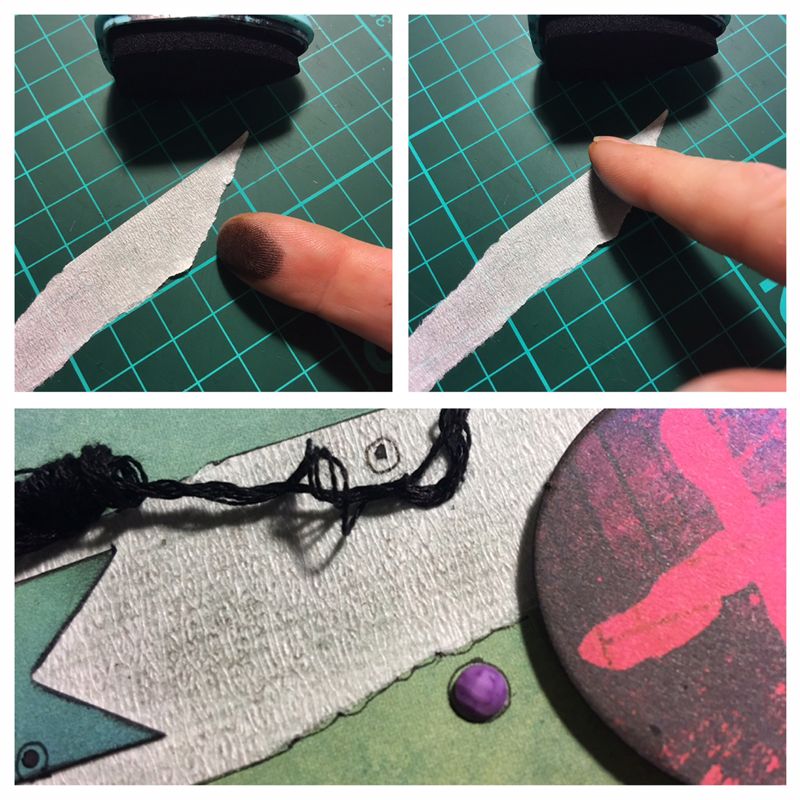
- One final touch to help soften the look of the layout, add strands of black frayed embroidery cotton to the layout background. These have been glued into position.
- Because the masking tape looked quite stark in contrast to the whole layout, I toned it down by smudging black ink over it with my finger.
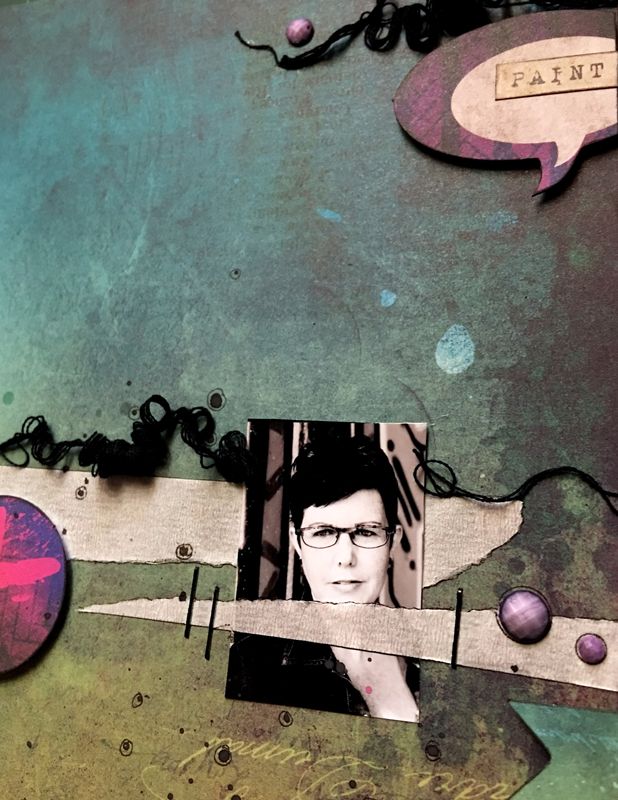
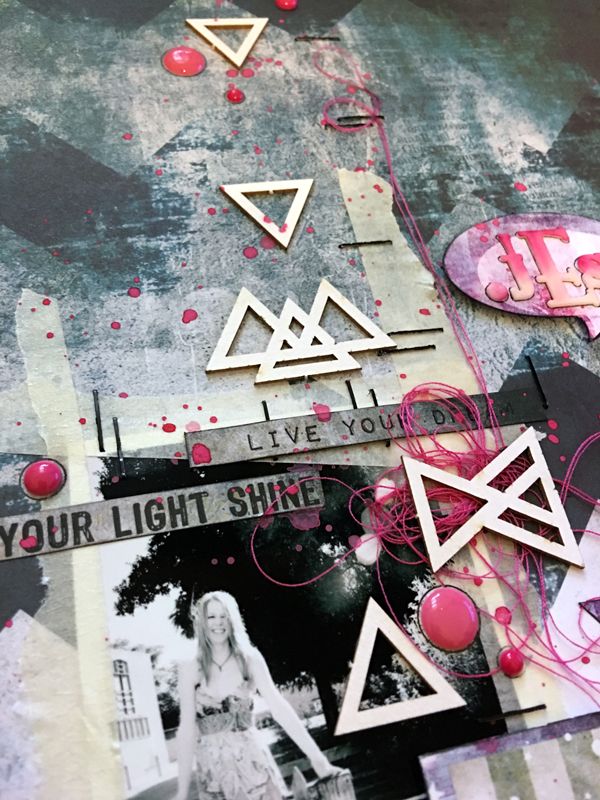
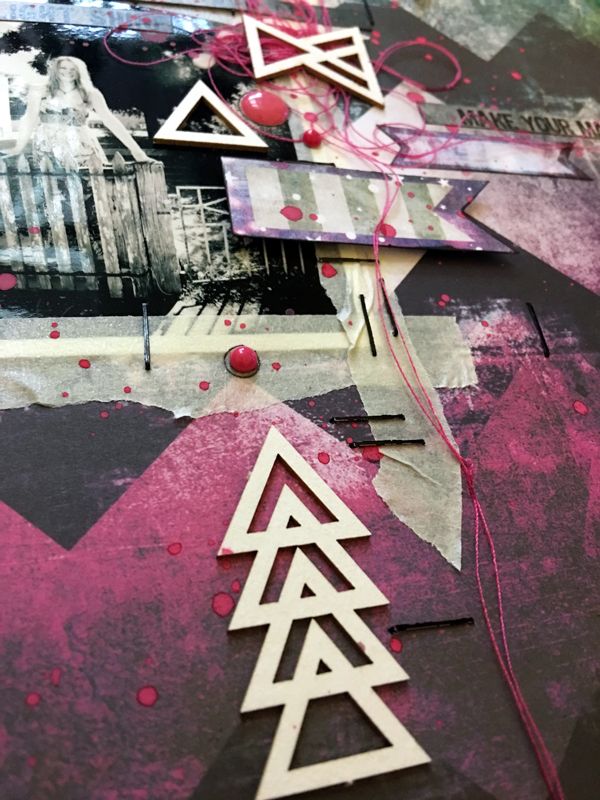
Here are 2 close up images of the completed layout.
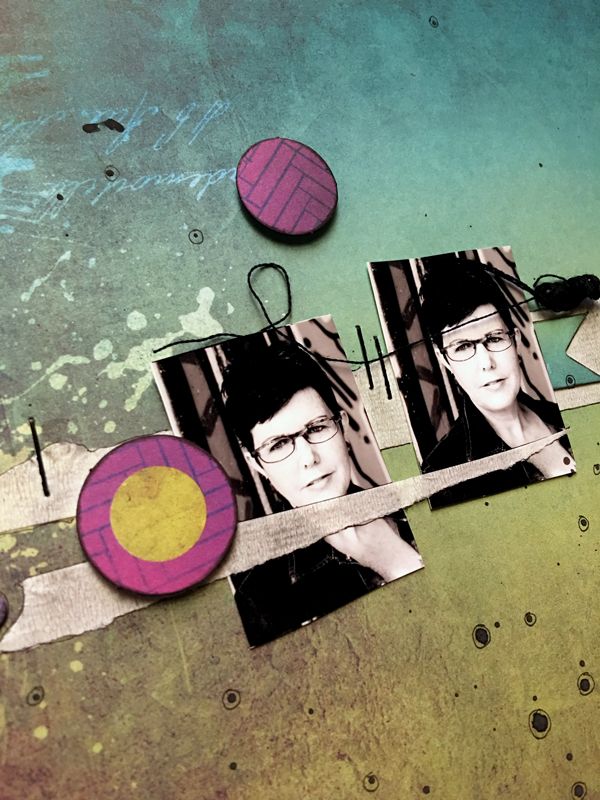
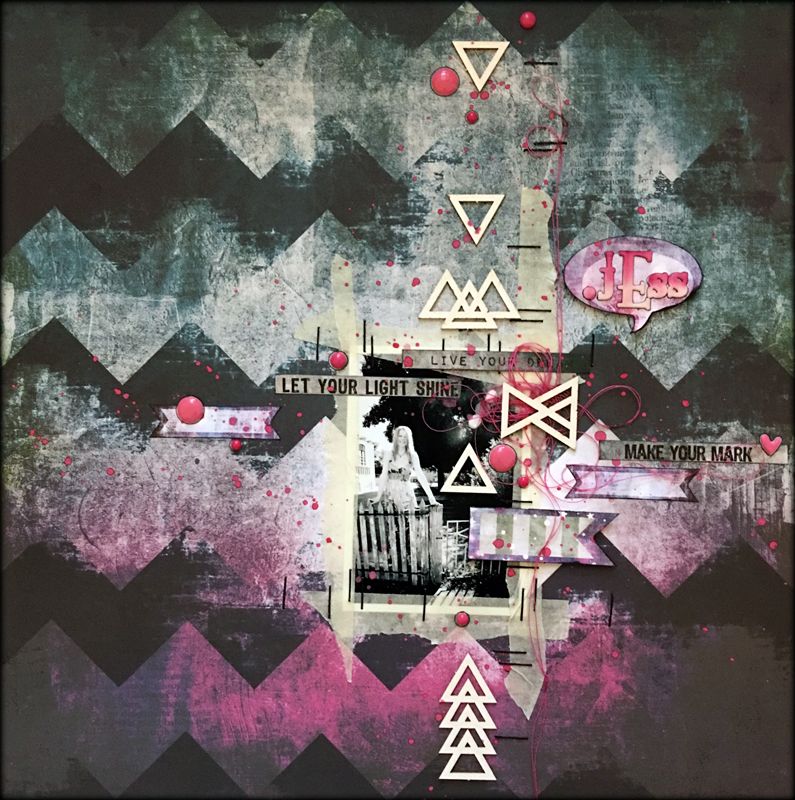
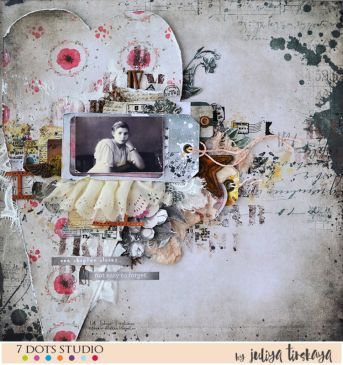
I also Created this layout using the masking tape to frame my photo.
7 Dots Studio supplies:
 |
 |
 |
 |
 |
Products List:
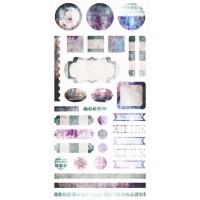
Northern Lights – Element Stickers 6×12
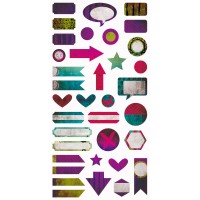
Paint Chips – Die-cut Elements 6×12
Paint Chips – Word Stickers 6×12
Paint Chips – Aquamarine
Paint Chips – Nightshade







// Comments are closed //